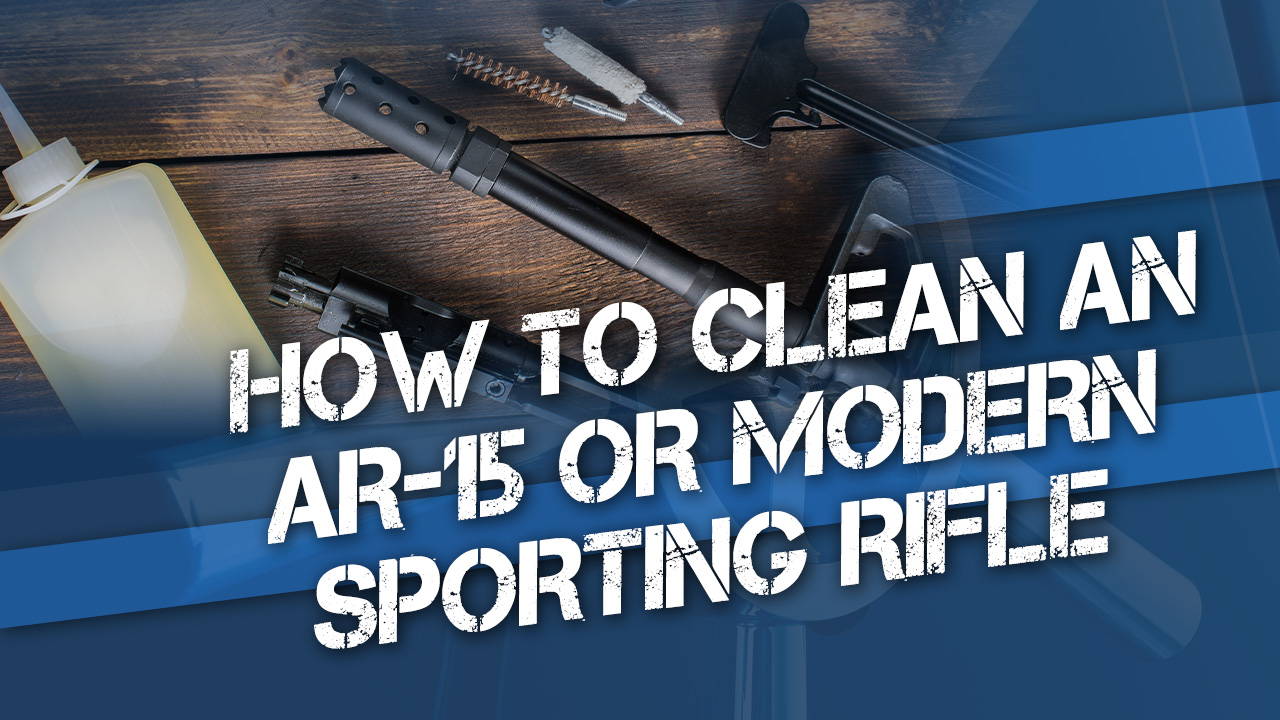
The AR-15 platform is extremely popular, and has become known as “America’s rifle.” However, its popularity and trouble-free reliability have also resulted in a lot of AR-15 owners and shooters not being as familiar as they should be with the proper cleaning and maintenance of their rifles.
We asked Clay Belding from Dead Dog Walkin’ to share his recommendations for properly cleaning and lubricating an AR-15 or MSR (Modern Sporting Rifle).
How to clean an AR-15
Let’s go over the steps for safely and properly cleaning your AR platform rifle.
Always ensure your rifle is completely unloaded before starting
One of the most important tips for safely cleaning any firearm is first to double-check that it is completely unloaded and remove all sources of ammunition from the area. It’s important to remove the magazine (if present) first, then retract the charging handle (often called the bolt handle) and carefully inspect the chamber to ensure there is not a cartridge inserted. Double-check that it’s unloaded, then allow the bolt to close on the empty chamber.
Important note: If the bolt is locked back you will not be able to separate the upper and lower receivers for cleaning. The bolt must be in the forward position for field stripping.
Press the takedown pin and pull it out
The rear receiver pin, known as the takedown pin, is located just rearward and above the safety lever on the lower receiver. It only moves one way (from left to right) and has a detent stop that prevents it from coming completely out of the receiver.
Push this pin from the left side (you should be able to just use your thumb, but some tight-fitted rifles may necessitate the use of a non-marring punch to get it started) and then pull it out from the right side until it stops.
Note: on most modern AR-15 platform rifles, you can also remove the front or hinge pin and completely separate the upper and lower receivers. Older AR designs have a threaded pin here that shouldn’t be removed for typical cleaning. If you prefer to clean the upper receiver and barrel group with it still connected to the lower, leave this front pin in place and hinge the rifle open to allow field stripping and cleaning.
Retract the charging handle and remove the bolt carrier and handle
With the rear of the upper receiver hinged open or separated from the lower, you can now retract the charging handle about halfway, then pull rearward on the bolt carrier and remove it from the receiver.
With the carrier group removed, you can retract the charging handle until the tabs on the sides of the handle align with the cutouts in the upper receiver, drop the charging handle down into the larger opening, and remove the handle to the rear.
Disassemble the bolt carrier group for cleaning
On the left side of the bolt carrier about halfway back, you will see the head of a “cotter pin,” the correct name of which is the firing pin retaining pin. Pry this out with a suitable punch or the tip of a bullet (you may be able to use your fingernails, but probably not) and remove it. This frees the firing pin, which will drop out of the rear of the carrier group if you knock the back against a wooden/padded surface.
With the firing pin out, push the bolt into the carrier, and then the bolt cam pin, which has a rectangular head, can be rotated 90 degrees to clear the bolt carrier key and removed upward out of the carrier. Then the bolt can be pulled from the front of the carrier.
Spray the bolt carrier group parts and the receiver extension (star chamber) with solvent, and brush them clean
With the bolt carrier group disassembled, spray all of these parts with a suitable carbon fouling solvent. Clay recommends Otis cleaning products. Also spray the “star chamber” or barrel extension behind the chamber, as this area can get quite dirty. Let the solvent work for 10-15 minutes.
After the solvent has had time to work, brush, wipe, and/or scrape the carbon fouling from the carrier parts, including the bolt channel in the front of the carrier. Clay likes the Otis B.O.N.E.® Tool for effectively removing carbon buildup here. A nylon brush or old toothbrush works well for cleaning the exterior of the bolt carrier, bolt, cam pin, and star chamber, though Otis’s star chamber cleaning tool makes cleaning the nooks and crannies of the barrel extension quick and easy, in just a few twists. It features a parkerized steel scraper to remove fouling build-up and felt cleaning pads to pick up the fouling loosened by the scraper.
After all the bolt carrier parts are suitably clean from fouling and debris, wipe them all down with a soft rag and apply the oil or protectant of your choice, then reassemble the bolt carrier group in reverse order. (Insert the bolt with the extractor to the right, insert the bolt cam pin and rotate it 90 degrees, pull the bolt forward, insert the firing pin from the rear, and reinsert the firing pin retaining pin.)
Swab the bore to remove fouling
Clay uses the Otis threaded Memory-flex cables to pull a cleaning patch soaked with solvent through the bore from breech to muzzle, and then dry patches. For regular maintenance, this is all that’s usually required. A severely copper-fouled bore may need specific copper-removing solvents and a long soak.
After the bore is clean and dry to your liking, it’s a good idea to apply a light film of oil down the bore using an oil-dampened patch to help prevent corrosion, particularly if the rifle doesn’t have a chrome-lined bore or will be stored for a long time before its next use. (Swab the bore with a clean patch to clear out any oil before shooting the rifle again.)
To reassemble your rifle, insert the charging handle into the round opening at the rear of the receiver and align the tabs on the handle shaft with the cutouts in the top interior of the receiver, and move the charging handle upward into its track. Move it forward a little so it doesn’t drop down again.
Pull the bolt all the way forward until it stops, then insert the bolt carrier group into the round opening at the rear of the receiver and align the carrier key into the slot in the bottom of the charging handle (you may have to move the charging handle forward or rearward a little to align the parts), and then push both the bolt carrier and the charging handle forward into the receiver until the carrier group is fully seated and the latch on the charging handle engages the notch on the receiver. Then the upper receiver can be hinged “closed” with the lower receiver, and the takedown pin pushed back to the left.
There you have it! Clay Belding’s quick and easy method for keeping your AR clean and ready for your next hunt.
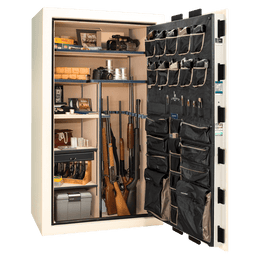
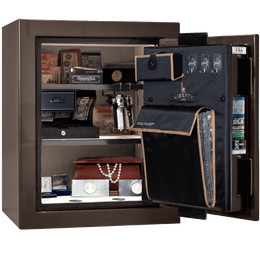
Be sure to check out Liberty Safe’s full line of USA-made gun safes to keep all of your firearms secure and protected from fire, corrosion, and unauthorized access.
*Made in the U.S.A. from U.S. and Global Parts.


