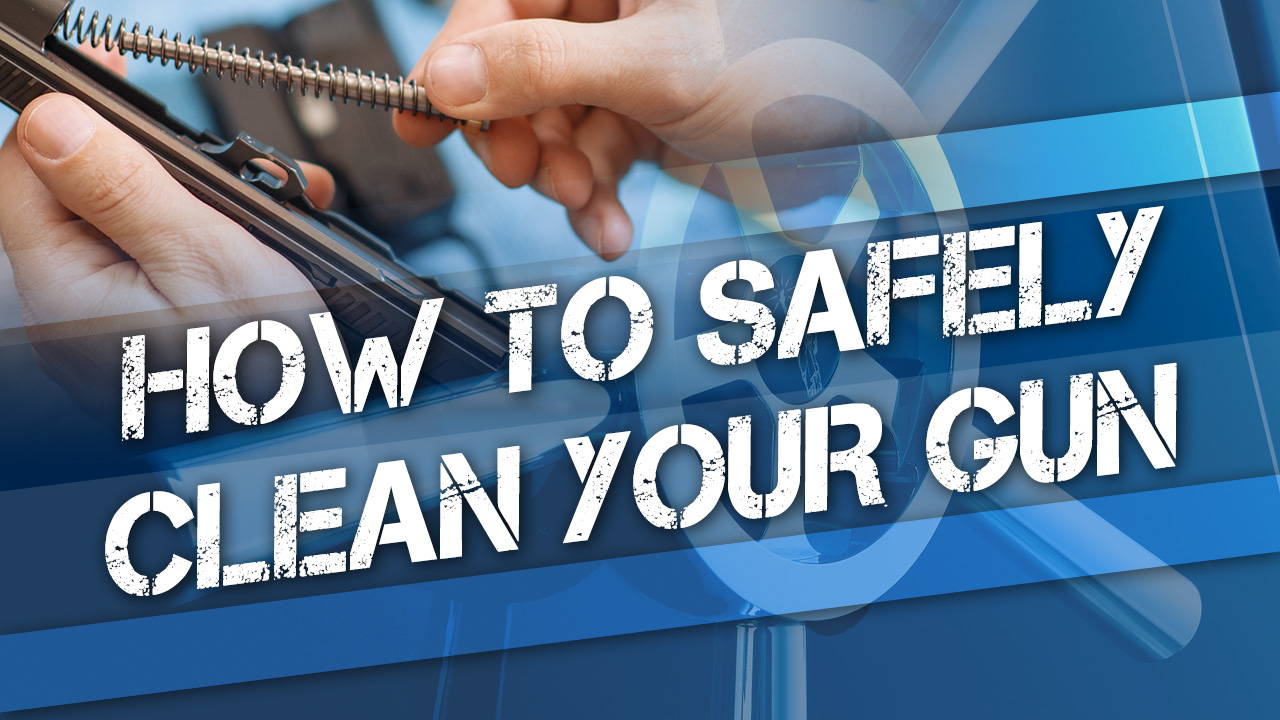
Firearms are machines (or at least mechanical devices) that require regular maintenance, cleaning, and lubrication, just like your car. Cleaning your gun has a few more specific rules than cleaning some other machines, as guns are dangerous tools and can result in injury or death if you get it wrong.
So let’s go over some key points you need to be aware of when learning how to safely clean your firearm.
The importance of cleaning your gun
First, let’s talk about the WHY behind keeping your gun clean. After all, it’s just a tool, right? Well, yes and no. Guns are machines, potentially quite expensive, and in some cases, your life may depend on their proper function. You wouldn’t buy a Porsche and then drive it for 150,000 miles without cleaning it, checking the oil, or having it serviced, would you? Of course not. It’s the same with firearms.
Furthermore, a clean, well-maintained gun will not only last longer and be more accurate, but it will be much more likely to function properly when called upon. For “working guns,” it’s important for the owner to remain proficient. Shooting well is a perishable skill, and regular training and practice means regular cleaning and maintenance. Unfamiliarity can result in accidental damage to yourself, others, or the gun.
Do I need to clean my gun even if I rarely use it?
YES. A handgun carried in a pocket or purse will collect lint and other debris and can actually get to the point where it fails to function as a result. Additionally, as we point out in our article on the proper care and storage of firearms, even unused guns, properly stored in a humidity-controlled safe, need to be checked occasionally for signs of corrosion or to clean off oxidized or concealed lubricants and reapply preservative agents.
Let’s go over some rules that will help you safely clean your gun.
5 gun safety rules to follow when cleaning your gun
How many times have we read about an unintentional shooting and the shooter swears “The gun just went off while I was cleaning it!” In our view, this is pure idiocy on the part of the firearms owner, and ignorance on the part of the press and public. In 99.999% of cases, this kind of incident is the fault of the person handling the gun.
We’ll review the “four rules of firearm safety” in the Negligent Discharge discussion below, but here we want to go over 5 safety rules specifically applicable to cleaning your firearm.
- Triple-check that the firearm is unloaded. Remove any detachable magazines, empty the chamber, and remove any ammunition from the area. Some guns, such as tube-fed .22 rifles and some others, are very difficult to properly clear, and a cartridge may hang up in the mechanism, particularly if it’s dirty or sticky with old, congealed oil. Make sure you learn what to look for in your particular gun, and triple-check that it’s completely empty before starting the disassembly and cleaning process. Don’t take anything for granted.
- Read and follow your manual! Even if you “know what you’re doing,” make sure to obtain and fully read the manufacturer’s manual associated with your particular firearm. Every design has its own quirks and nuances around safety operation and disassembly. It’s your responsibility to know your firearm. Most manufacturers will provide owner’s manuals for free upon request, and if your firearm is an antique or out of production, be sure to research the safe and proper methods of disassembly and operation before attempting any disassembly, maintenance, or cleaning.
- Avoid distractions. Pay full attention to what you’re doing, and don’t clean or perform other maintenance on your firearm while watching TV or doing anything else that can take your mind away from the task at hand. Ask any family members not to interrupt you, and if you are momentarily drawn away for some reason, re-confirm the empty condition of the gun before proceeding.
- Ideally, field strip (partially disassemble) your gun at a minimum, and detail strip (fully disassemble) where appropriate. To get at all the gunk, you’re probably going to need to field strip your gun. The field-stripping procedure will be elaborated in your owner’s manual, so be sure to follow it.
Unload any magazines you’ve carried, used, or dropped in the dirt (you’ll need to clean them as well, and they need to be empty for disassembly and cleaning) and remove this ammunition from the area.
Avoid fully disassembling some shotgun or rifle trigger groups, bolt assemblies, staked-in ejectors, or other components that aren’t recommended by the manufacturer for user-servicing, as they can be extremely difficult to reassemble and/or they may cause an unsafe condition if tolerances are changed from permanently-set factory settings.
- Protect your skin, eyes, and lungs. Some gun solvents and oils can be harmful to your skin, eyes, or respiratory system. Read and follow the instructions on the label. Wear eye protection (to protect your eyes from chemicals as well as from any spring-loaded parts that may cause eye damage). It’s a good idea to use nitrile gloves to prevent your skin from absorbing carcinogenic or other harmful agents, and always clean your gun in a well-ventilated area.
NOTE: Never use live ammunition for function checks after disassembly or cleaning, unless you’re on a live range with the muzzle pointed downrange, and the range is declared hot. If you must prove the proper function of a firearm at home after maintenance or repair, use inert/dummy action proving rounds and keep live ammunition out of the area.
What is a negligent discharge?
A negligent discharge, often abbreviated in gun circles as an “ND,” is where a firearm discharges unintentionally due to a violation of one or more of the four rules of gun safety (almost always #3 or a combination of #1 and #3) on the part of the shooter.
The four rules of gun safety:
Rule 1: Treat all guns as if they are loaded. Even if you know (and have confirmed) the gun is unloaded, you should continue to treat it with the same level of respect as you would a loaded gun.
Rule 2: Never let the muzzle cover (or point toward) anything you're not willing to destroy. The fact that you know the gun is unloaded is not an excuse to violate this rule (see rule 1).
Rule 3: Keep your finger (and all other objects, clothing, etc.) off the trigger and outside the trigger guard until you are ready to fire. The only time your finger may be placed inside the trigger guard and onto the trigger is when your muzzle is pointed toward a target and you are ready to shoot.
Rule 4: Be sure of your target and what is behind it. You are responsible for every projectile that comes out of your gun. Make sure your target is what you think it is, and ensure there is nothing in front of or behind your target that you are not willing to shoot.
There are essentially two types of incidents where your gun may fire unintended. The first is known as an “accidental discharge,” or AD for short. A true AD is exceptionally rare, and is usually due to the malfunction (usually breakage) of some part of the gun’s firing mechanism, but can occasionally be due to unforeseen pressure from a holster or gripframe, tolerance stacking, or poor design, OR it may be caused by poor or overaggressive gunsmithing (lightening a trigger pull in a semi-automatic firearm to the point where it discharges the gun as the slide or bolt closes, for example). An AD is truly not the fault of the shooter, who has done nothing “negligent” to cause the firearm to discharge in an unintended fashion (unless the shooter has performed or been involved in the aforementioned overzealous gunsmithing).
On the other hand, in a negligent discharge, something the shooter has done or failed to do has caused the gun to fire as it was designed to, but in an unintended fashion or in an unintended direction.
Some common examples of a negligent discharge include:
- A competition shooter leaves their finger on the trigger during a reload or while moving and shoots a round into the ground or berm. The shooter is disqualified from the match.
- A police officer or member of the military fails to confirm the chamber is empty and fires a round into the weapon-clearing bullet trap at the end of their shift. The person is passed over for promotion.
- An armed citizen removes the magazine from a semi-automatic pistol but fails to eject the cartridge from the chamber, or confuses the order of unloading the gun, racking the slide and then removing the magazine. This leaves a loaded cartridge in the chamber. The citizen fails to triple-check the chamber before disassembly or dry-fire practice, and presses the trigger, shooting their spouse or neighbor.
- A hunter removes the tubular magazine from a .22 rifle and pours the ammunition out of the magazine tube, but this leaves one cartridge stuck in the loading mechanism. The person replaces an empty magazine into the magazine tube, the follower of which puts pressure on the cartridge as designed. During cleaning, the hunter cycles the bolt and inadvertently loads that cartridge into the chamber. The person “dry fires” the loaded gun into their television, destroying it.
- A recreational shooter or person carrying a concealed handgun wears loose clothing or clothing equipped with drawstrings around the waist area, which enter the trigger guard and move the trigger to the rear when the person holsters the gun quickly without checking. The gun fires a bullet into the shooter’s leg, and the shooter has to be life-flighted to a trauma center.
Remember: an ND is entirely your fault. Don’t be stupid. Learn, practice, and verify your safety procedures.
A guide on how to clean your gun
Many firearms manuals contain the manufacturer’s recommendations on cleaning procedures and even recommended cleaning formulations and lubricants. Be sure to read your owner’s manual fully.
There are lots of gadgets and tools that make cleaning firearms more pleasant and more effective (which we’ll discuss below), but you don’t actually need much to get the job done. Generally, the items you will need to do a basic cleaning for your firearm are:
- Some sort of basic cleaning kit, or a cleaning rod with threaded, slotted patch holders or patch jags
- Soft cleaning patches or old t-shirts cut into small squares
- Cleaning solvent or soap and water (yep, some people just use plain ol’ Ivory soap to clean their firearms)
- (Optional:) An old toothbrush or other nylon-bristled brush to help loosen debris and reach into tight spaces
- Gun oil (or any good quality machine/motor oil)
That’s about all you really need. As far as the actual process goes for cleaning your gun, the order below varies widely from individual to individual, but generally, the following tasks need to be performed (AFTER first triple checking that the firearm is unloaded) in the order that makes the most sense to you:
- Field strip or disassemble the unloaded firearm as desired. Bolt-action rifles should have their bolts removed at a minimum, to allow easy inspection and cleaning. Wood stocks or grips may be removed at the discretion of the owner to prevent damage by solvents or to allow easier access to the firearm’s parts.
- Swab the bore with a fresh cleaning patch that’s wet with the gun cleaning solvent of your choice. Ideally, you should clean from the breech, rather than from the muzzle (where possible). Some people recommend never withdrawing a dirty patch back through the bore, as they feel it will potentially redeposit the fouling into the barrel.
Some people recommend using bronze bore brushes to scrub the bore, while some use only patches. It’s a personal preference, but a bore brush may be appropriate in heavily fouled bores or when cleaning after shooting uncoated lead projectiles.
Allow the solvent to work for a few minutes, then follow with dry patches until they come out as clean as you desire. Repeat as needed.
- Wipe down the interior surfaces of the action, as well as the bolt and receiver, and any other surfaces that have been fouled, with a rag or patch moistened with cleaning solvent.
- Brush out any sticky/greasy/stubborn fouling with a nylon brush wet with solvent, and wipe out the loosened debris with a soft cloth or patches.
- Hose down any shotgun trigger groups, rifle actions, etc. that the manufacturer advises you not to disassemble, using spray gun cleaner or CLP, blow the excess off with compressed air if available, and/or wipe off with a clean rag.
- Check the area in and around the chamber for hardened or stubborn fouling, and if necessary, brush or scrape it out with brass or bronze brushes or polymer dental picks (see “gun cleaning tools” below).
- After the interior and exterior surfaces of the gun are suitably cleaned with solvent, wipe them dry with clean rags or patches, and then apply the lubricant of your choice to the areas recommended by the manufacturer, and wipe down the exposed metal surfaces of the gun with either an oily rag or the rust-preventative you prefer.
- The bore should be wiped clean of solvents and a light coat of preservative oil applied for storage, which should be removed with clean patches before the next firing.
- Reassemble the gun, perform a function check (unloaded or using inert/dummy rounds), wipe off your fingerprints, and store the firearm securely until its next use. See our proper care and storage of firearms article for more.
Note: if possible, to prevent unnecessary wear to the muzzle and any rifling, you should clean from breech (rear) to muzzle (front) and should use high-quality, coated, one-piece cleaning rods combined with bore/muzzle guides to prevent abrasion to the barrel’s throat, muzzle, or crown (see below for more on that subject).
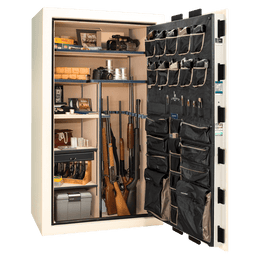
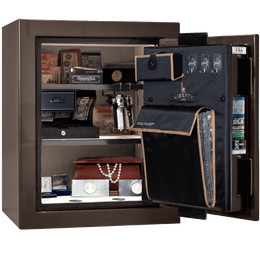
Store your cleaned and preserved firearms in a humidity-controlled, fire-rated gun safe for maximum peace of mind.
Gun cleaning tools
Firearms may be cleaned using basic cleaning kits, and in some cases without any specialized tools or kits. However, there are several tools and gadgets that make gun cleaning easier, quicker, and potentially safer for your skin, the firearm, and the tabletop or surface you’re cleaning on. Let’s go over some favorites.
Coated, one-piece cleaning rods
Bare aluminum, sectioned cleaning rods, commonly included in cheaper cleaning kits, can become impregnated with metal or carbon shavings and act as sandpaper for your precious rifle or handgun bore and rifling. What’s more, steel, and military cleaning rods have caused a lot of unnecessary wear to rifles’ muzzles and rifling from overenthusiastic or too-frequent cleaning.
Nylon-coated, one-piece cleaning rods have been the gold standard for decades, as the one-piece design is much stronger and less prone to bowing, breakage, or causing damage than sectioned, threaded rods, and the nylon coating has less chance of picking up any abrasive debris.
Some people now are transitioning to carbon-fiber cleaning rods, saying they have less chance of picking up embedded particles than even the nylon-coated rods.
Bore guides and muzzle guides
A bore guide is inserted into the breech area of the firearm and serves two important purposes: first, it centers the cleaning rod in the bore and helps prevent it from contacting the rifling or bore; and second, it helps prevent oil, solvent, debris, and patches from falling into the firearm’s action. Muzzle guides or muzzle guards are available for firearms that can’t be easily cleaned from the breech end.
Chamber brushes for military-type rifles
AR-15s, as well as other military-based rifles like the M1 and M14 platforms, can be trickier to get really clean around the chamber area. The barrel extension on the AR has keyed slots cut into it (for bolt lockup) which can be difficult to reach and clean with standard brushes. On the M1 and M14 rifle, the barrel is screwed very tightly to the receiver using special wrenches and the receiver is closed at the rear, so you can’t use a traditional breech-end cleaning rod setup to access the chamber.
Several companies make specific chamber cleaning brushes for these rifles and others, which can be helpful in getting things suitably sparkly.
Nitrile gloves
This may not seem like a “gun cleaning tool” but a good pair of solvent-resistant nitrile gloves can protect your hands from the chemicals, the dirt, and the smell of gun cleaners and lubricants, and can make the whole process seem like less of a chore.
Plastic “dental” picks
Getting sticky or crusty grunge out of the deep recesses of a firearm’s receiver can be satisfying, but it helps if you have the right tools for this job. Don’t use steel dental picks or scrapers, as they can easily scratch and damage delicate firearm finishes and parts. We like these plastic gun cleaning picks.
Nylon brushes
Lots of people just save up their old toothbrushes, which work OK, but a dedicated, quality dual-ended nylon gun-cleaning brush can be a great way to reach into the smaller crevices inside your gun, and they are often more durable than worn-out, cheap toothbrushes.
Bore snakes or gun cleaning ropes
Hoppe’s popularized the “bore snake” which is a cloth rope-looking thing with a brass weight on one end to help it drop down long rifle or shotgun bores, and the middle section includes a brass bore brush, and the thicker end is looped to add surface area and help wipe out the loosened fouling. You can clean and wipe out your bore with just one or two passes. Some people recommend against these things, and some love them. It’s up to you.
Gun cleaning mats
A good gun-cleaning mat protects both your valuable table surface from chemicals as well as your gun (and the table) from scratches and dings and some mats have recesses that can stop screws or other small parts from rolling around and getting lost. We like the ones from Cerus and Hogue, but there are a lot of other choices. Make sure the one you use will stand up to the solvents you want to employ.
Gun vises or holders for maintenance and cleaning
A gun mat is good for handguns and can be suitable for longer guns, but for rifles and shotguns, we like the security and convenience of resting the gun upright in a gun vise. Tipton makes a few good options, as does Hoppe’s.
Copper/carbon/lead/plastic fouling remover
A good gun solvent will generally do an acceptable job at removing carbon, lead, and powder fouling, and may be sufficient for removing light copper fouling. However, some shooters prefer to use a dedicated copper fouling remover for rifles, or plastic/wad fouling removers for shotguns.
Get the best gun safes at Liberty Safe
After you’ve cleaned, lubricated, and protected your gun from corrosion, be sure to store it in a secure place. Liberty makes the best gun safes in the USA, from US steel, and our fire-testing procedures are above and beyond, so you can know that your Liberty gun safe will perform as you expect for decades to come.


