Clearview Multicolor Lights

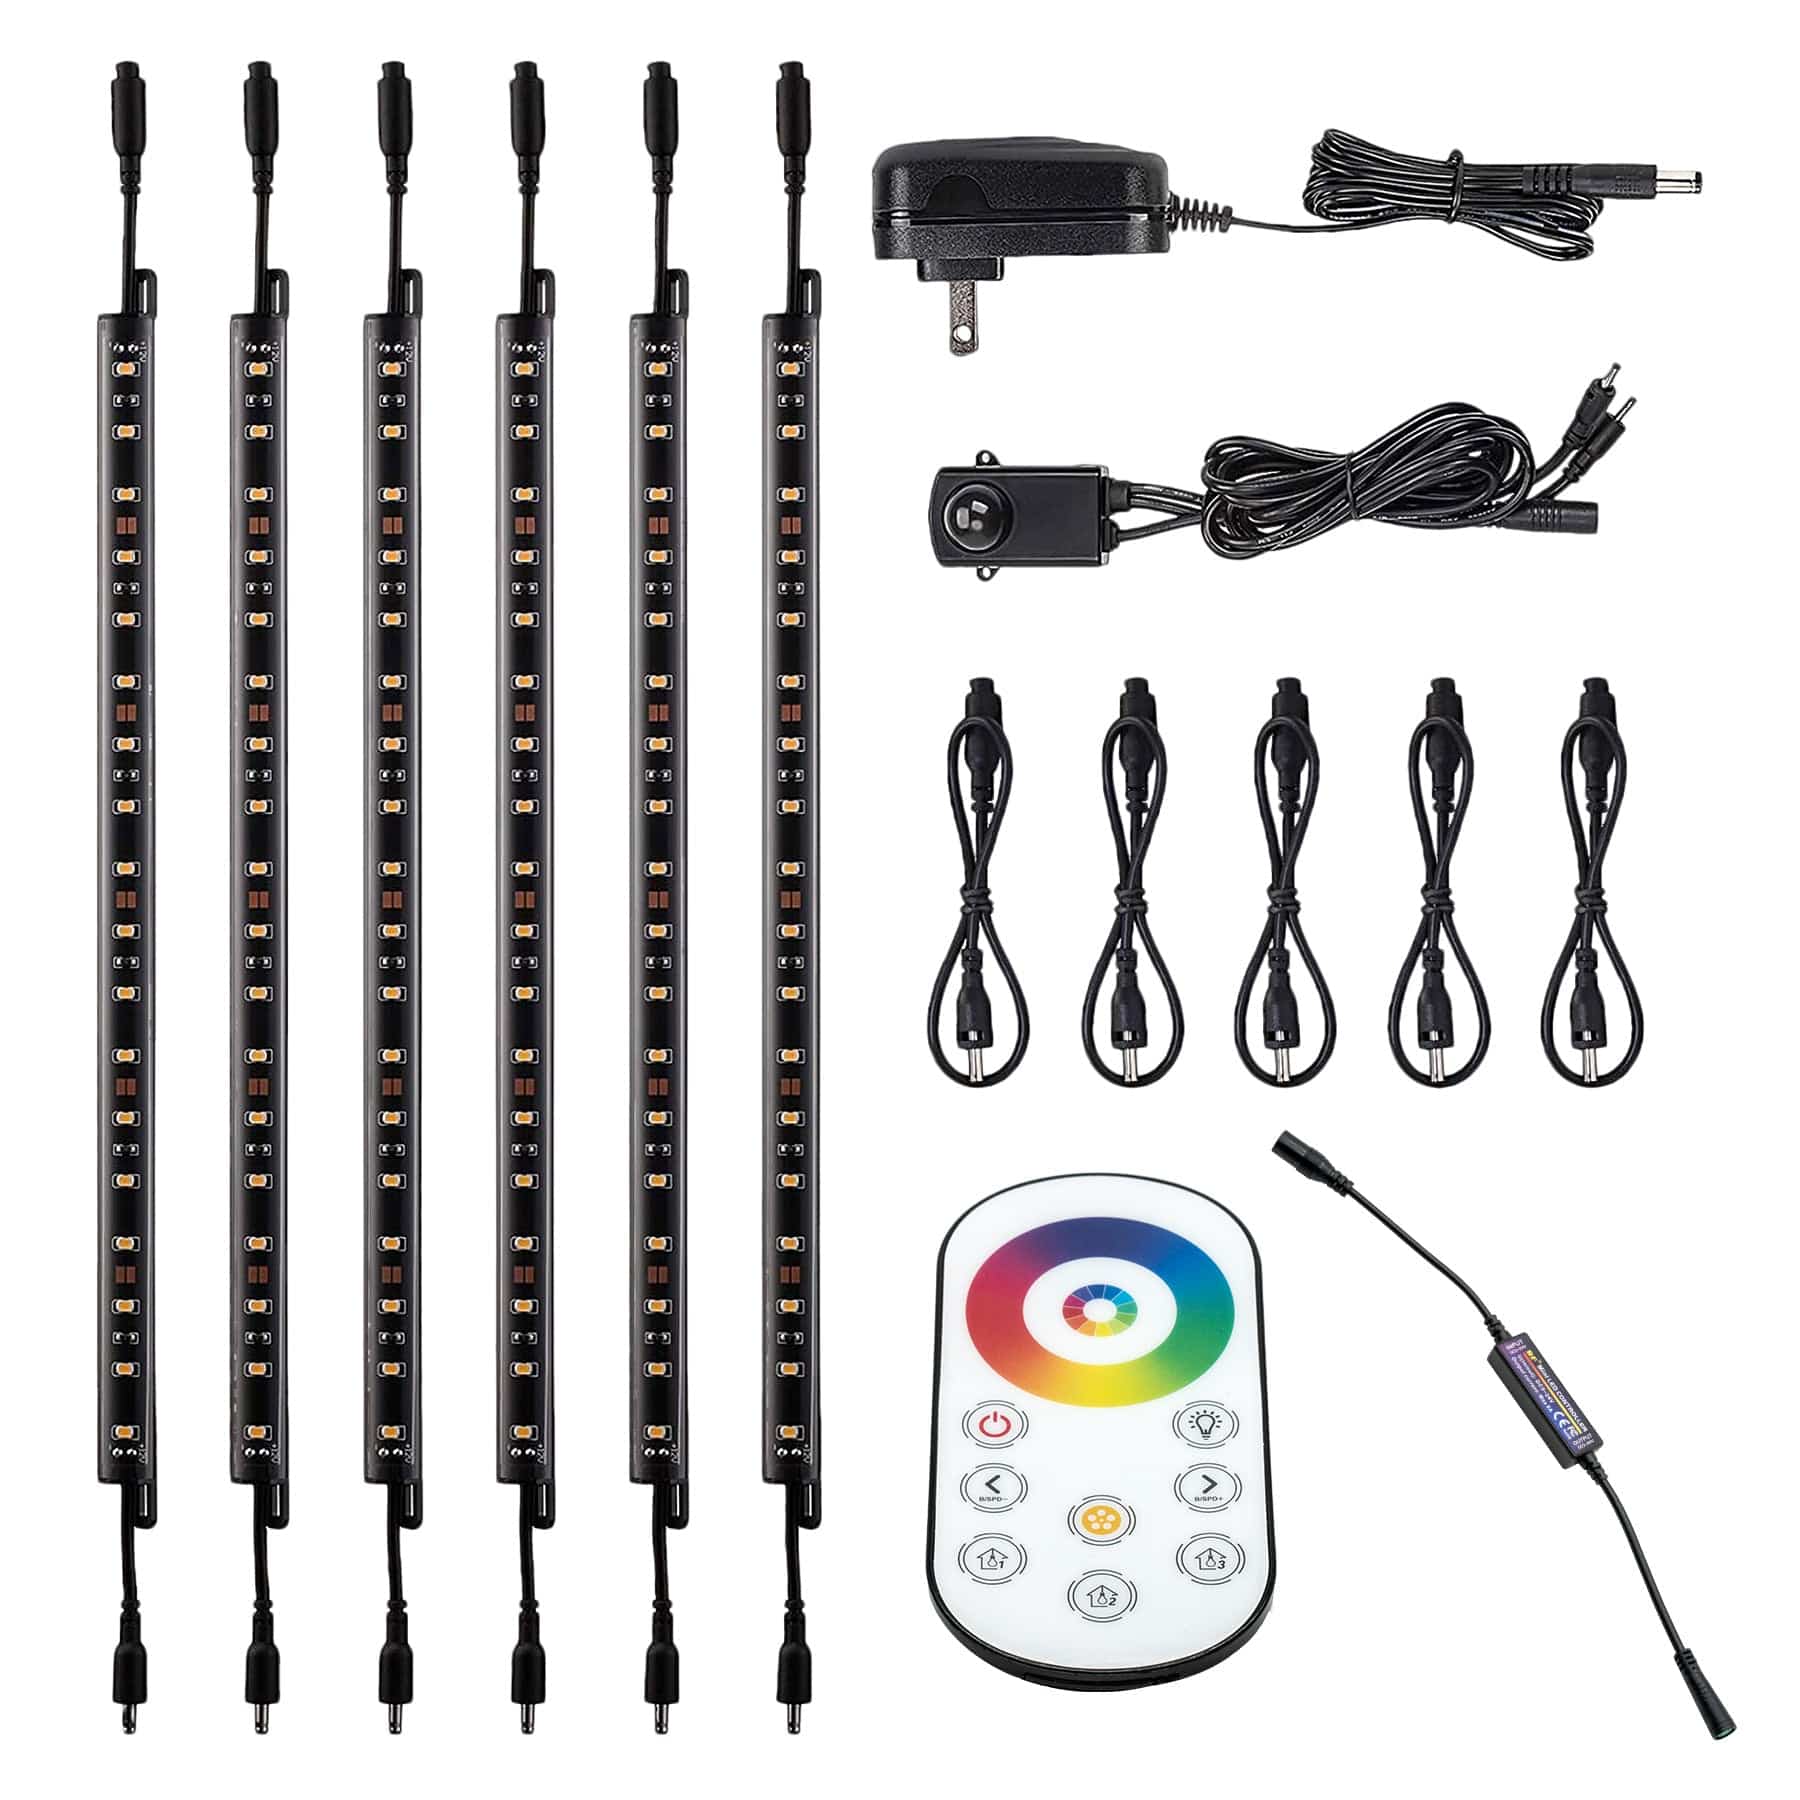
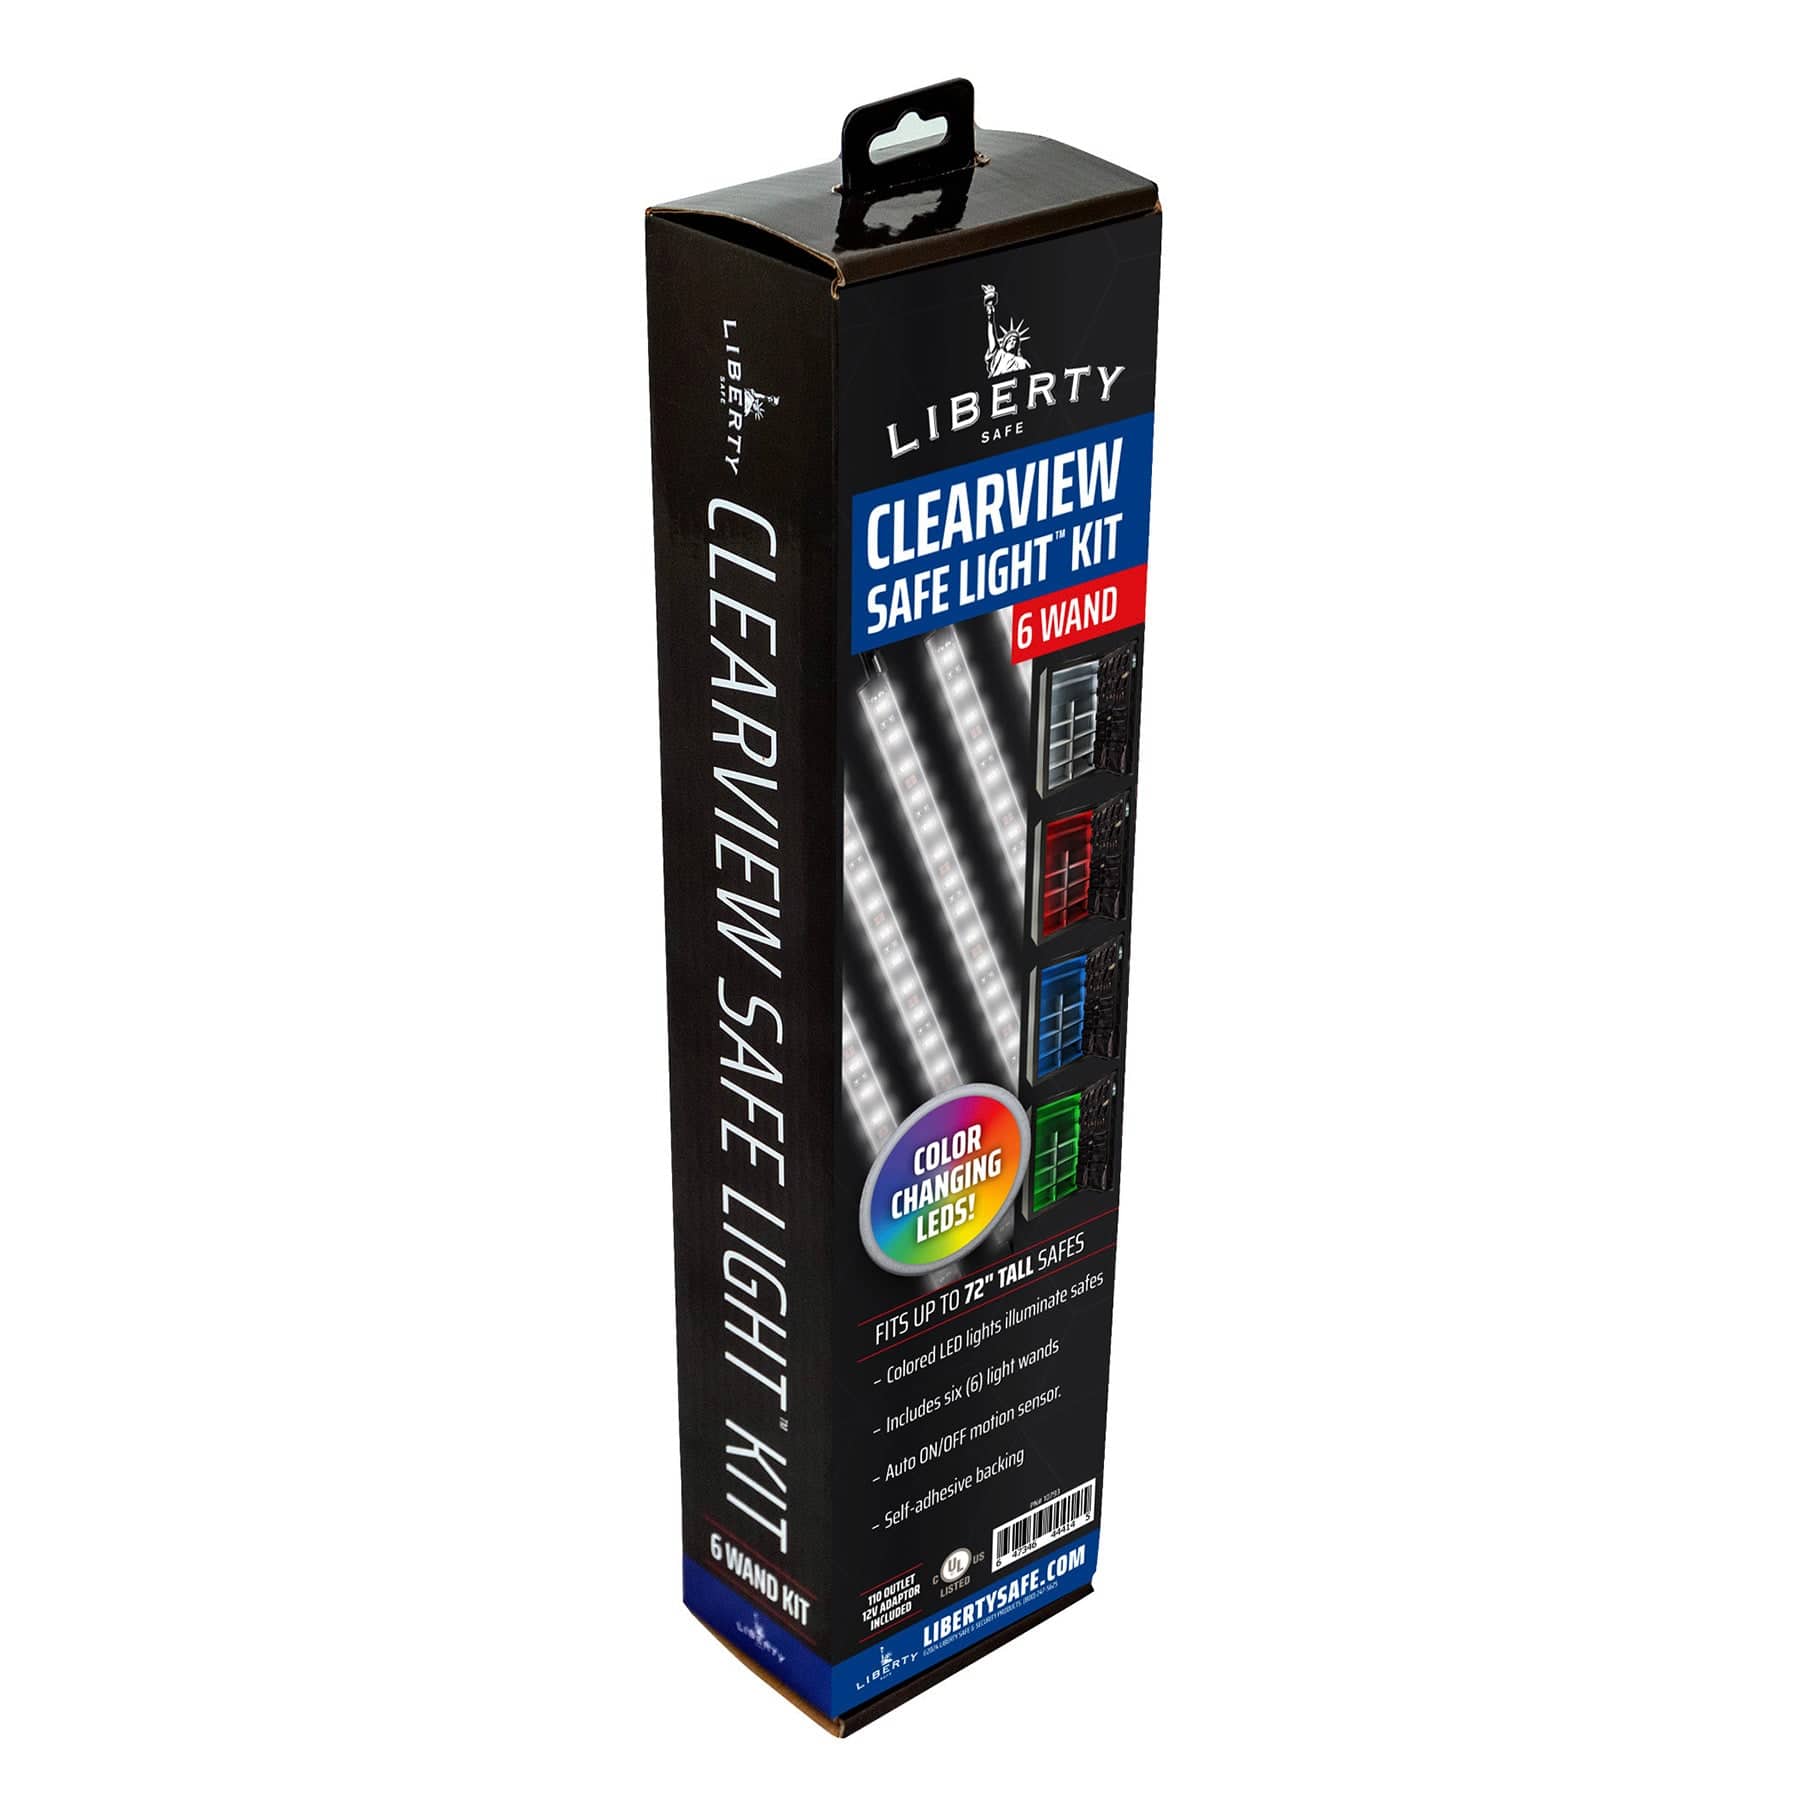
Enhance your gun safe’s interior with the versatile Liberty Safe Clearview Multicolor Lights. Each kit includes six LED wand lights and a remote control, allowing you to change colors and customize your safe’s lighting. Configure the lights from one wand to all six for your perfect setup.

🔆 Bright, Long-lasting LED
👋 Motion Sensor Activated
🎨 Color Changeable with Remote Control
Regular price$99.99
/
Shipping calculated at checkout.

Full Description

Illuminate your home or gun safe’s interior and valuables with the new Liberty Safe Clearview Multicolor Light Kit. This advanced lighting kit includes six LED wand lights, each featuring an auto on/off motion sensor for convenience and a brilliant 150 lumens output per wand. The included remote control allows you to easily change the color of the lights to suit your preference.

With a self-adhesive backing and easy connection snaps, the LED wand lights are simple to install on both the hinge and open sides of the safe.

We recommend purchasing the electrical outlet kit for plugging in Liberty’s 6-wand Clearview Multicolor Lights for optimal performance.

Please note: When plugged in, the plug-in adapter for the Clearview lights covers two of the three 110V outlets, reducing the available outlets to one. The transformer is designed for a maximum of six wand lights, and additional wand lights cannot be connected.

Features:

🔆 Bright, Long-lasting LED
👋 Motion Sensor Activated
🎨 Color Changeable with Remote Control

Customer Reviews

Based on 3 reviews
100%
(3)
0%
(0)
0%
(0)
0%
(0)
0%
(0)
C
Customer
China is cheap for a reason.

I bought 2 cheap lights kits from china.
Each one only lasted days.
Liberty is the best.

j
joseph P.
Multicolor lights

I’m very happy with the lighting system that I purchased the colors of vibrant and light up the safe well thank you again.

Reviewer avatar
Timothy B.
Works great but installation instructions are poor

Take a picture of your safe’s contents before starting, so you know where everything goes after you are done. Empty the contents of your safe and remove all shelving before starting.
The lighting kit’s instructions contain two sets of instructions depending on time limit of fire safe (90 or 110-minute package, versus anything else), which is confusing. The installation instructions do not indicate in what order to connect the LED controller unit (Note: It connects between the motion sensor and the first light bar). The kit includes a female-to-female extender cable, which is useless since only a male-to-male extender cable could be inserted into the system. My controller is supposed to offer six levels of white temperature/color, but as far as I can tell, the controller offers only two levels of white. The brightness buttons do not work for the white lights, but the brightness buttons do work for the colored lights. I can live with this. The remote-control unit is simple to use, but it is not obvious that buttons #1, #2, and #3 at the bottom of the remote-control unit are for saved "scenes," which you can program by pressing that button for several seconds. The instructions were obviously written by someone in China since the grammar and words chosen are sometimes unclear (e.g., the increase brightness and decrease brightness buttons for the remote-control unit are listed in the manual as “Bright/Speed-“ and “Bright/Speed+” which is hilarious).
The light bars themselves are simple to install, but I recommend using the provided screws in addition to the sticky tape on the back of each light bar. PLAN YOUR WIRING CAREFULLY BEFORE DOING ANYTHING. Pay particular attention to where you have excess cable and where you intend to tuck it. I had excess cable in two spots: (1) Upper left corner, and (2) Bottom floor. I installed 16 furniture pads beneath my floor boards to elevate the floor boards, so I could run wiring below the floor boards. This also comes in handy for hiding the power cord for other electrical devices, such as a humidity bar. Also, pay attention to how you intend to navigate the wiring around the door hinges. I suggest connecting everything electrically to make sure all lights work, and then do a hand-over-hand placement to “test fit” each light in the desired spot, and insert extender cables where necessary. AFTER you are convinced your wiring plan will work, THEN start installing the light bars one at a time. BE CAREFUL: Do not pre-drill holes for the screws because any drill bit catches onto the carpeted surface and begins winding carpet fiber onto the drill bit like a spool of thread (this happened to me). You can use a power drill to get the screws started and inserted about half way in, but don’t go all the way in using the power drill. Just use pressure and a manual screwdriver to finish tightening the screws. DO NOT OVERTIGHTEN THE SCREWS since sheetrock is very easy to strip. I recommend using Gardner Bender plastic cable clamps (use one screw each) to secure the connection between each light bar. You can tuck most of the wiring into the corners and cracks of the safe walls. I used my fingernails and a plastic “wood shim” to press the cables into the corners and cracks.
I recommend installing three light bars on the “open door” side and two light bars on the “hinge” side. I also recommend installing the remaining sixth light bar at the “top” in the center of the safe. I do not recommend placing a light bar on the floor since the LEDs aim upward and hit you directly in the eye, which is blinding. I discovered this the hard way and had to remap my lighting plan. Make sure you do not cover the slot for the door’s top locking bar mechanism when you install the top light bar, or else the safe will not lock because the door’s top locking bar needs the unobstructed space at the top in order for the safe door to close. You will have to relocate the top light bar inward approximately one centimeter to unobscure the top locking slot (this happened to me). The side locking bars do not interfere with the light bars in the sides, which is a good thing, so there is no need to move the other five light bars inward. The motion sensor works great, but the kit does not provide screws to affix the motion sensor to the wall, and I do not trust sticky tape. Also, the two screw holes on the motion sensor are really tiny. I had to use a drill bit to increase the size of the holes to accommodate the screws I used. I had to provide my own screws for the motion sensor and the cable clamps.
Liberty recommends placing the motion sensor at the bottom on the hinge side, but I placed mine at the top on the hinge side. I had enough cable extenders for my installation, but just barely. My safe is 36 inches in width (Liberty Safe model Colonial 30). My installation took about four hours, but I spent the majority of my time planning, testing, pre-fitting, and figuring out what ...

Judge.me YouTube video placeholder

Thank you for your thourough review. We will take your recommendations on the instructions to our development team and have those updated.

You may also like


Recently viewed