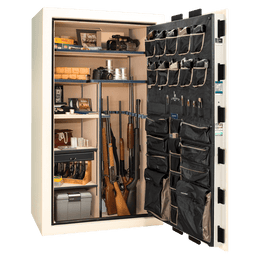
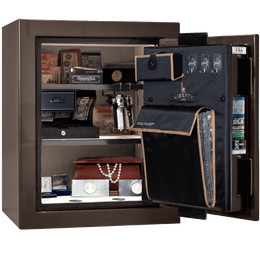
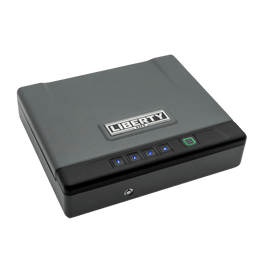
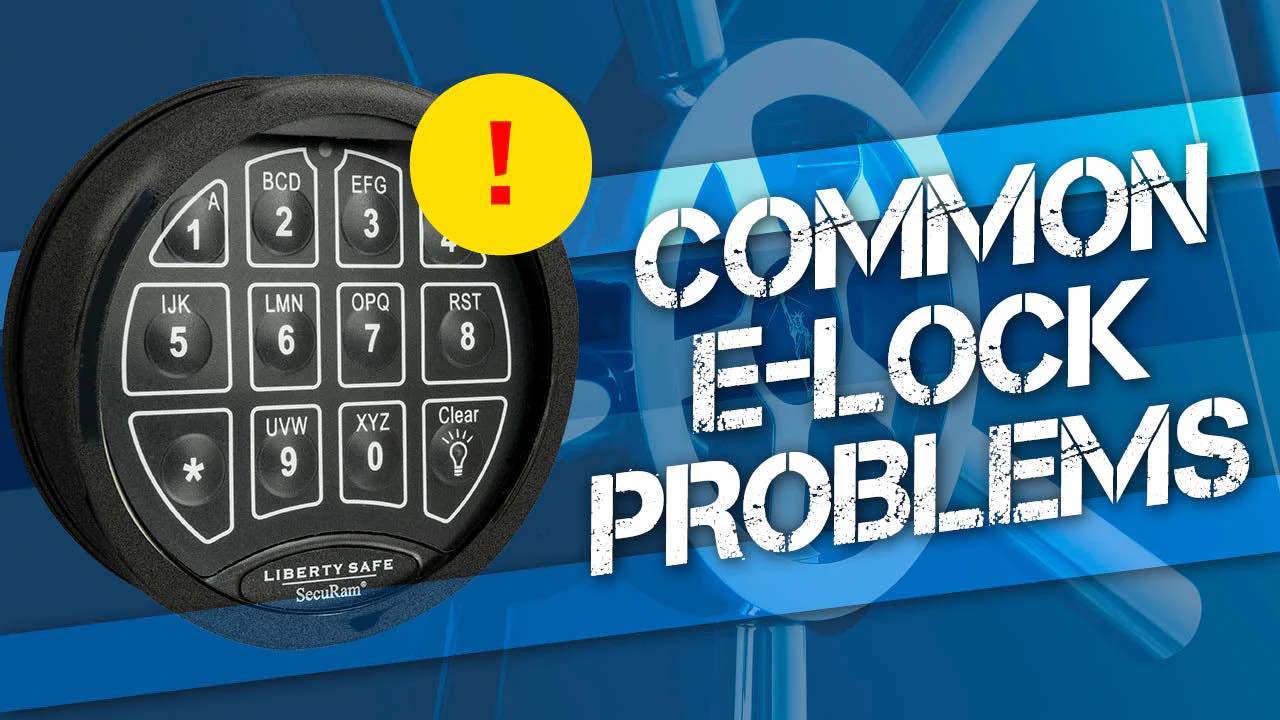
Liberty Safe uses high-quality electronic locks on the gun safes we sell. You can depend on these locks to keep your guns and valuables secure in your safe. But most importantly, they allow you quick and easy access to the contents of your safe. You can also expect your electronic safe lock to provide you with years of reliable use with very little maintenance other than changing its battery once or twice a year.
However, despite your lock's tested and proven reliability you might encounter an occasional glitch that can be easily solved without the need for service. Here are four of the most common problems safe owners have with electronic safe locks.
Operating Electonic Locks
Dead or Low Battery
The nine-volt battery in your safe lock should normally last 12 to 18 months. But if you frequently open your safe, the battery might not last as long. If the battery is running low, your lock could still have enough power to light up its display key pad and make its normal tones. You might even hear the lock click as if it is disengaging the lock. However, the lock will not fully disengage. Replacing the battery according to the directions in your owner manual will restore full function to your safe lock. It is suggested you change your battery with a good quality alkaline battery, like Duracell or Energizer, every six to 12 months to ensure smooth operation of your electronic safe lock.
Lock Out Mode
If you enter your code into the electronic safe lock incorrectly several times in a row, you will be locked out. But this is only a temporary condition that might seem like a minor inconvenience. However, electronic safe locks have this feature to prevent would-be thieves from sitting there and continually entering in codes trying to get into your safe. Depending on your lock, you may have to wait 10 to 20 minutes before attempting to enter your code again.
Safe Relocks Before Opening
You should open your safe by turning its handle immediately after putting in your code. If you do not, it will relock after a few seconds. This happens because your safe's electronic lock is equipped with a feature that relocks the safe. If this happens to you, simply punch in your code again and turn the safe handle to open the safe.
Handle Appears to Be Jammed
A frequent problem that new safe owners run into is that the handle seems to be jammed when they go to open their safe. There is an easy fix for this. This happens because the handle has been fully pushed to one direction. You can solve this issue by finding the mid-point of play for the handle and then re-enter your code. After doing that, your safe should open.
If you run into any issues with the electronic safe lock on your new Liberty Safe, do not hesitate to contact your local dealer for advice.
For addition resources visit our troubleshooting guide.
TROUBLESHOOTING GUIDE
HELP WITH COMMON GUN SAFE ISSUES
Dehumidifier Will Not Plug into the New Outlet Kit
The dehumidifiers have thicker prongs and it catches on the contacts of the new outlet kit. Two simple solutions usually work. 1. Try to plug in another 3-prong plug that has thinner prongs. If it works, that usually spreads the contacts out and the dehumidifier will work. 2. It that doesn't work, file an angle on the tips of the dehumidifier prongs so that it creates a wedge. Plug it in and if it works problem solved. If that doesn't work, contact Liberty's customer service department at 800-247-5625.
Key Will Not Turn
Verify that the combination dial is set at zero before attempting to turn the key. Make sure key is fully inserted before attempting to turn key.
Combination Opens the Safe Intermittently
Check lock-bolt pressure. Some free play should exist in the handle, left to right. Try dialing the combination again. Bolt pressure may be due to out of place interior shelves or improper personal storage (i.e. gun barrels, items too big for shelves).
Combination Will Not Open the Safe
Check lock-bolt pressure. Some free play should exist in the handle, left to right. Redial the complete combination stopping at "0" (before reaching "87"). Hold dial on "0" while rattling the handle left and right. Then turn the dial right until it stops at about "87". PLEASE NOTE: If your lock still does not open, it is possible that one or more of your numbers may be off slightly from those shown in this manual. The combination number may have shifted slightly during shipping. Try dialing 1 up or 1 down from each number in the combination. If it opens with a new number, update your combination in this book and report it to Liberty Safe (800) 247-5625, Press 0.
Combination Dial is Tight or Will Not Turn
Verify that the key-lock is unlocked (jagged edge of key will be facing up) before attempting to turn dial. Check lock-bolt pressure. Some free play should exist in the handle, left to right. Bolt pressure may be due to out of place interior shelves or improper personal storage. Make sure the door is completely closed and the locking bolts are in the fully extended position. Normally dial tightness varies from safe to safe. Tightness of dial may increase or decrease as dial is being turned.
Combination Works but Handle Will Not Turn
Verify that the dial has completely stopped (turning to the right) on or about "87" before turning the handle. Corner protectors (packaging material) may cause undue pressure on the locking bolts. To alleviate the pressure push in on the door while pulling out and turning the handle to open the safe. If the handle turns partially the bolts may be jammed or caught up. Try rotating the handle back and forth (left to right) until the bolts free up. Use a cotton cloth and light oil to rub each chrome locking bolt on the open and hinge side of the door.
Combination Works and Handle Turns but Safe Will Not Open
Verify that the handle has been completely rotated in the open position before opening the door. Check the Allen set screw located on the front (center of handle under sticker) or side of the handle hub for tightness. Some safes are installed with a unique handle clutch mechanism. Improper personal storage or over tightening the door adjusting mechanism may cause the clutch to temporarily engage. Try pushing in on the door while pulling out and turning the handle. You may have to repeat this step several times until door is open.
Door Rattles When Shut
Adjust Door. Also, verify that the handle has rotated completely and that the chrome locking bolts are fully extended.
Door Will Not Shut
Verify that the lock is unlocked and the chrome locking bolts are fully retracted. Make sure the interior shelves are pushed back as far as possible, and that the floorboard is pressed down to the bottom of the safe floor. The handle should travel the same distance with the door closed as it does with the door open.
Door Shuts but Will Not Lock
Verify that the door is shut completely, the handle rotated completely and chrome locking bolts are extended to their locked position. Then rotate the dial to lock the safe. Verify that interior shelves are pushed back as far as possible, and that the floorboard is pressed down to the bottom of the safe floor. (For electronic locks see the next section.)
Chrome Locking Bolts Do Not Retract to Close Door
Verify that the dial is unlocked and has stopped on or about "87" before turning the handle. On models with electronic locks make sure the electronic lock is unlocked. Bolts may become dry and need oil. Use a cotton cloth and light oil to rub each bolt entirely, front & back of door.
Electronic Lock Will Not Open
- The locking mechanism of a safe can, under certain conditions, place pressure on the side of the lock's bolt. This is often caused by something inside the safe pressing against the door or by something caught between the safe door and its frame. When this occurs, the lock will not operate properly. To relieve side pressure on the lock bolt, move the safe's handle to the fully locked position, (for direct-drive locks make sure the keypad is turned counterclockwise to stop), then re- enter a working code. The lock should open.
- If the lock "chirps" when keys are pressed, but it will not open, the batteries may be drained to the point that they will not operate enough to open the lock. Follow the battery replacement procedure in this manual.
Electronic Lock Will Not Lock
- If the lock "chirps" when keys are pressed, but it will not open, the batteries may be drained to the point that they will not operate enough to lock the lock. Follow the battery replacement procedure in this manual.
- For single battery keypads, the battery may not be making good contact with the keypad terminals. To improve battery contact, remove the battery tray and bend down the thin metal contact tabs located inside the battery tray compartment at the top. Then replace the battery tray and enter your code a few times until lock begins to lock.
- For D-Drive locks try the following:
- Open the door all of the way and extend the bolts.
- Slide the keypad housing away from the door (similar to changing the batteries).
- Locate the spindle plate that rests against the safe door, directly behind the keypad.
- There are two ears (tips) on the plate that are positioned between 12 and 2 o'clock. Verify the door is open all of the way and the bolts are extended to their locked position. Slide the two ears counterclockwise to the 12 o'clock position. The lock should click and chirp once. Try the handle, it should be locked.
*Made in the U.S.A. from U.S. and Global Parts.


