

I’m a firearms enthusiast and have been very active in the firearms hobby for around 15 years, shooting in local and state competitions (IDPA, USPSA, multi-gun) and plinking/target shooting weekly. However, I’ve never been a good rifle shot and have mostly focused my training and practice around handguns. Prior to taking the class outlined in this article, I’d never shot a “long-range” rifle from a bipod/bags or from the bench, and certainly had no idea about calculating proper dope or wind calls at longer ranges.
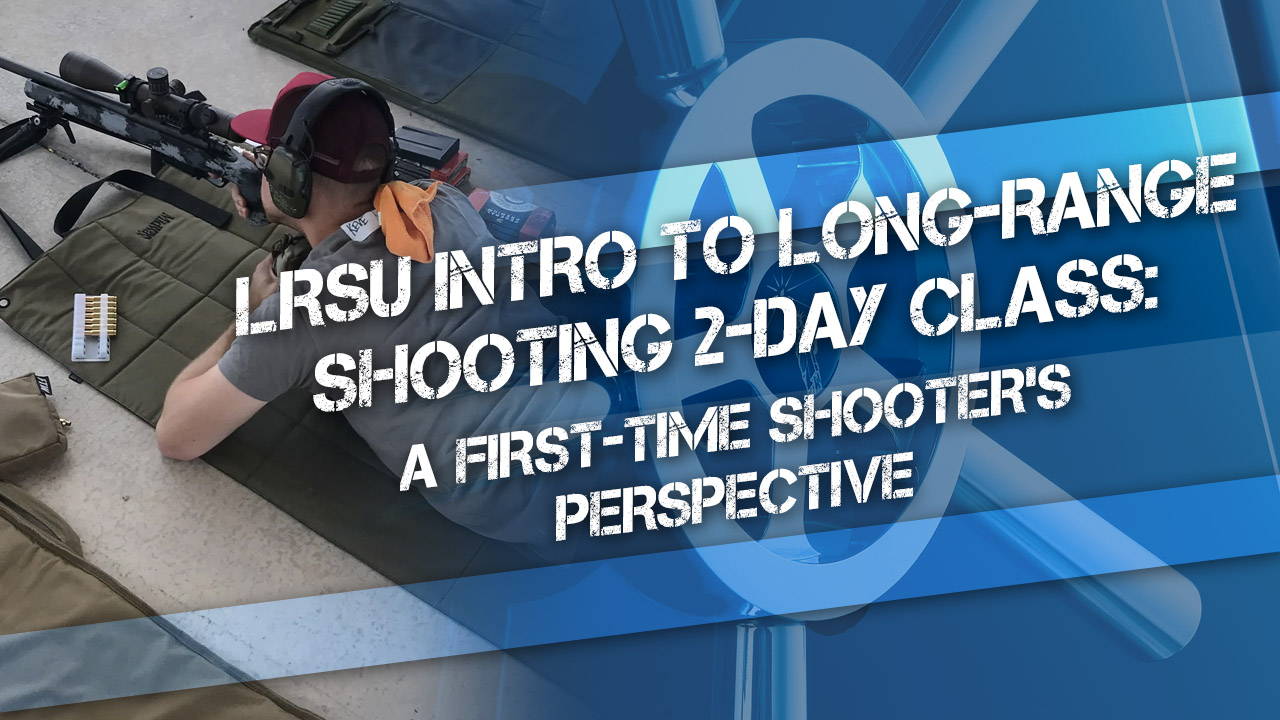
This is one reason why I was excited when my brother asked me to go with him to get some expert advice and training from the guys at Long Range Shooters of Utah, during their 2-day Intro to Long Range Shooting Course.
In this article, I’ll go over the basics of the class, gear requirements, location, cost, and some key learnings, as well as provide an overview of my experiences as a first-time long-range shooter.
Where is the LRSU introductory class taught, how much does it cost, and what can I expect to learn?
The LRSU team teaches this class at the excellent North Springs Shooting Range near Price, Utah, which boasts both 600- and 1000-yard rifle ranges (and separate shoot houses for 1,200-1,500 yard targets and the mile), handgun ranges, and excellent facilities. The LRSU Intro course is designed with the beginner in mind, but even experienced long-range shooters (and there were several in the class) can expect to learn something new.
1,000 Yard Range
Bryce Bergen, founder of LRSU, is the primary instructor–and he is excellent–but he has several assistants who help students with spotting and wind calls, and other tasks related to the class. People come from all over the country (and sometimes from around the world) to take this class, and are not disappointed. Two of my classmates had driven 35 hours from Massachusetts to take the course, and there were also two gentlemen who had traveled from North Carolina. Everyone had a great time and we all agreed it was well worth the trip, the time, and the money.
The class size is limited to around 14 students so you’re assured lots of individual instruction. The cost for the course is $600 in 2022, and this is a bargain for 2 days of professional instruction on a top-level range.
The 1,200 yards, 1,500 yards, and 1-mile “milk jug challenges” are optional (and cost an additional $20) and take place after the class ends on the second day. The majority of my classmates stuck around to shoot one or more of these bonus challenges and I think pretty much everyone got their “milk jug challenge” stickers/awards.
According to the LRSU course description, “students will learn:
- Theory, Mindset, Skillset, and Equipment needed to achieve precision & accuracy at long range.
- Fundamentals of Marksmanship (Body Position, Natural Point of Aim, Trigger Control, Breath Control)
- How to mount, level, and torque your rifle scope & bubble level for proper fit and eye relief.
- How to Zero your rifle and how to use all the functions of a model rifle scope.
- How to set up and use a ballistics application to generate elevation & windage adjustment to 1000 yards +.”
This section particularly intrigued me: “By the end of the course, students will be able to derive accurate wind drift & drop data for any condition and effectively engage targets to at least 1000 yards on their own with no coaching. We guarantee that all students will complete the 1000 yard milk jug challenge before going home.” (Emphasis mine)
Prior to this class, I would have considered hitting a milk jug at anything over 300 yards to be nigh impossible, so Bryce really had his work cut out for him if I was going to hit a milk jug at 1000 yards. Turns out, if you get the right instruction and use the proper gear, it’s not that hard!
Gear and firearm requirements for the LRSU Intro to Long Range Shooting course
Bryce is very communicative via email (and phone if needed) with registrants prior to the course and strongly urges students to bring a proper, sub-MOA-capable rifle (bolt action preferred) with at least 120 rounds of match ammo and a good, high-magnification scope with external turrets. A half-MOA rifle is better. Potential students are required to send Bryce a photo of a 5 shot group shot at 100 yards to verify that your rifle/ammo can shoot sub-MOA, that is, put 5 shots inside of 1 inch at 100 yards. However, if you’re a complete novice and can’t provide this requirement, you can rent an appropriate rifle for the class, which, being a complete tyro to the sport, I elected to do (more on that later).
As far as additional required gear for the class goes ear and eye protection, a good bipod that cants from side to side, a bubble level mounted to your rifle or scope, an adjustable cheekpiece, a sidewinder drop/dope chart/holder or similar, downloading “Shooter” ballistics app on your phone, and a quality rear bag are a must. A “nice to have” (but I’d say mandatory since you shoot from concrete and possibly gravel surfaces) is a durable shooting mat with loops you can press your bipod into.
Students are required to pack lunches for both days, and coolers with ice and lots of water and snacks are a good idea. The range has limited space in a fridge and also provides a microwave, but it’s better to bring your own cooler if possible.
Don’t forget to dress appropriately for varying and potentially extreme weather conditions. At higher elevations in the desert it can be cold, windy, rainy, and even snowy well into the summer months, so bring warm gear as well as sunscreen, chapstick, ear protection, and eye protection. As Bryce says, “Remember we shoot rain or shine so PLEASE PREPARE FOR THE WORST and hope for the best.”
Also, remember to bring at least $20 cash for the 2-day fee for use of the excellent North Springs shooting range and facilities.
Can I rent a rifle and gear for the LRSU Intro to Long Range Shooting class?
For me it was easiest and cheapest to rent a rifle and gear from Bryce. He provided me with a Ruger Precision Rifle in 6mm Creedmoor with a Vortex Viper PST 5-25x50 scope in MOA. The (currently $299) rental fee included 100 rounds of match ammunition that I’d need for the course, which is about $175-200 worth of ammo these days. Some shoot more, some shoot less, but Bryce says you should plan for at least 120 rounds of match-quality ammunition to complete the course. You can purchase additional ammo from Bryce if you shoot more than average (assuming he has your caliber available in these ammo-scarce times).
In addition to paying for the use of a very nice rifle/optic and bipod (and the match ammo), the rental fee also includes all the shooting gear you’ll need, including a bubble level, dope cardholder, dope cards, shooting bags, and a shooting mat with loops for use with a bipod.
Key takeaways from the LSRU long-range rifle class, and my experiences as a first-time long-range rifle shooter
Class started at 8:30 both days, and it was July, fairly windy, and HOT on the range (98 degrees in the afternoon). Day 1 was primarily classroom instruction, with some limited range time at the end of the day. This was basically a supervised sight-in/confirmation of your rifle’s zero on the 100-yard range, and adjustment of your scope position or rifle ergonomics if needed. After that, students were free to shoot on the 600 or 1,000-yard ranges, but the instruction was done for the day. On day 2, we were on the range all day.
In the classroom
As far as the fundamentals of long-range shooting, Bryce teaches them based on a clever acronym: don't forget your PANTS! I’ll go over the key points here, but you really should take the class to get the full benefit of LRSU’s experience and wisdom.
P = Position
Get yourself directly behind the rifle with the bore in line with your spine, the insides of your feet flat on the ground, the buttstock as high as possible on your collarbone, and the stock as close to the medial (centerline of your body) as possible. It feels weird at first and you might have to move your scope back to get a proper eye box. You want pressure on the stock and into the bipod, so you sort of make a bridge and settle down into position with enough pressure that you can hold the buttstock on your shoulder and the crosshairs on your target without touching the rifle with your hands (or even a rear bag). Several people needed to re-mount their scopes during the sight-in period on the range because they were used to more traditional offset body positions, or shooting exclusively from the bench. The instructors helped with this.
A = Acquire
Natural Respiratory Pause They discussed multiple breathing methods and demonstrated that you get the most stable, repeatable, and accurate results when shooting during the natural respiratory pause at the bottom of your breathing cycle after you let a full breath out.
N = Natural Point of Aim
You want to move your whole body so that the crosshairs settle on the target (or very close to it) with your eyes closed as you naturally breathe out. You practice getting your crosshairs on the target, closing your eyes, breathing in and out, and then reopening your eyes and checking your crosshairs. If they rest on the target, that's your natural point of aim. We even did a drill at 100 yards shooting with eyes closed, after acquiring the target, closing your eyes, breathing in and out, and shooting during the respiratory pause. Many people's groups with eyes closed were better than eyes open! Mine was about half the size of my eyes-open groups, but the POI (point of impact) was high and to the right of the bullseye. So I was obviously muscling the reticle into position more than I should (when shooting with my eyes open).
T = Trigger Control
Aim for a 90-degree bend in the trigger finger, place the finger so the center of the first pad is on the trigger, and try to press the trigger straight to the rear. Don't try to “ambush” the target or snap the trigger when the crosshairs are where you want them. Press slowly and smoothly to the rear as you maintain the crosshairs on the target.
S = Stay on the Rifle and Spot Your Shot
Follow-through after the shot is important. Hold the trigger to the rear until you see your impact at least.
In addition to your “pants,” you also need to check your bubble level and your scope’s parallax. For every distance, you adjust your parallax first, then you always check your bubble level before each shot. I was very surprised how much difference having a bubble level made. You'd feel like you were repeating your position and scope alignment perfectly for each shot, but you’d check your level and you'd be canted to the right or to the left. If the bubble isn't centered, you won't be able to hit the target and/or call your wind holds correctly because if you're off-center for level, you're pushing shots slightly left or right just by canting the rifle.
Before every session and pretty much before every shot, the instructors had us repeat the mantra: "bubble level, parallax, pants".
During classroom time, they went over some basics of ammunition and reloading (match quality ammo is vital), equipment, optics, some stuff about wind calls (I could have used more on that, since that's really the hardest thing to learn), and how wind at the shooter is more influential than wind midway to the target or at the target. They also discussed MOA (minutes of angle) and mils (milliradians) what they mean, and how to make the proper adjustments using your scope’s turrets. The spotters/instructors shot both, were very familiar with both and had no issues calling correct wind holds.
The ballistic app (we used "Shooter" which costs $10) took all the guesswork out of creating a dope chart, so the instructors didn't get into any of the external ballistics or math as far as that goes. I also would have appreciated some instruction on ranging using the reticle but that's another kettle of fish.
My Dope Chart
I can’t adequately sum up 8+ hours of top-quality classroom instruction in an article, but suffice it to say it was interesting and informative and I didn’t get bored.
On the range
Prior to this class I’d considered calculating ballistics and drop to be voodoo black magic but using a ballistic app and inputting proper G7 bullet data and local weather station conditions (with the guidance of our instructor) resulted in a dope chart that enabled me to get one-for-one first shot hits at 300/400/500/600/700/800/900 yards and second shot hits at 1,000 yards after correcting for the crosswind. I was simply astounded.
I was more astounded when at the end of the second day I hit the LRSU “milk jug challenge” jug with my second shot with the Ruger Precision Rifle at 1,000 yards. I held dead on for elevation based on my dope chart and held 4 minutes of left windage. Got it!
Shooting for the 1000 Yard Milk Jug
My brother shot a Remington 700 police tactical .308 in a Manners stock and he shot tiny groups during the zero confirmation at 100 yards. He also hit the jug at 1,000 yards but he had to hold 12 minutes of wind and took a few more shots to hit the jug than I did. As I spotted for him throughout the day I was amazed how much more the .308 got blown around past 600 yards than my 6mm Creedmoor did. The recoil beat him up as well, especially since the instructor had us set up directly behind the rifle with the buttstock high on our collarbones and as close to our centerline as possible. If I decide to get a dedicated long-range rifle, it’s probably going to be a 6 or 6.5 Creedmoor.
After all the time on the rifle, my shoulder and cheek got sore from ergonomic weirdness (I had the comb as far back as possible to get a good eye box but was still basically resting my cheekbone on the rear edge of the comb) but was able to see my hits and call my shots at 1,000 yards. With the SCAR-17S I couldn’t see my hits through the optic at any distance due to the recoil. Seeing your hits and calling your shots was a big part of success in the class so if I’d have tried to struggle through with my SCAR setup it would have been frustrating instead of enlightening and very enjoyable.
I’m still proud of hitting 3 for 3 at 600 yards with PPU ball and a 1-8 AccuPower with the SCAR-17S. I just asked the spotter if he knew approximately what dope .308 ball required at 600 yards and he said he thought about 14 minutes, so I held 14 minutes up and, BOOM CLANG! Super cool.
My SCAR and Ruger Precision Rifle Setup
It was so easy to hit out to 600 yards with the Ruger Precision Rifle that I stopped burning the ammo because it actually got a little boring. I did shoot a 10-shot group at 100 yards that were less than an inch. For someone who has literally never shot from prone/bags or bench before I found that very impressive.
Since the rental I was provided was a right-handed rifle and I shoot from my left shoulder, I had to break my cheek weld and remove my right hand from the rear bag to run the bolt, but it was no big deal.
I learned that an accurate setup and good glass is essential to success in long-range shooting, as is a bubble level. Several times the instructor said he'd rather have a $1K rifle and a $4K scope than a $4K rifle and a $1K scope.
For me, when I buy a good long-range optic I'm going to look for very positive zero stops. The one I rented tracked accurately but didn't stop at zero/bottom. It went a bit past. It was also a full revolution high on elevation but the instructor helped me get it sorted during the zero-confirmation portion of Day 1. I know almost nothing about rifle optics but it was cool to be able to see a milk jug at 1000 yards at 25X well enough to hit it. You definitely want MORE magnification rather than less for this type of shooting.
For this class they taught mostly shooting from prone with a good bipod on a mat with straps you could push into to load the bipod. Your rear bag setup needs to be stable and allow for you to squeeze the bag to make fine adjustments to elevation.
I learned the value of good ballistic data and a quality ballistic app/calculator: some bullet makers just provide G1 ballistic coefficient data but ideally, you want to input multiple G7 BC data points at multiple velocities for the best dope chart. Thankfully G7 data It was available for my Hornady Match 108 grain 6mm Creedmoor and when I input that data and the weather data, including density altitude (we were at 6000ish feet but density altitude was around 9800 feet because it was so hot), it lined up perfectly and I simply dialed the prescribed dope for elevation. Then it was just a question of wind calls.
I have a kind of barrel chest (read: I’m fat) so I needed the bipod fully extended and a medium-large square bag as a base in the rear, with a squeeze sock type bag on top of it. Other people had different setups, and shooting a class is a good way to vet any new gear setup you want to try.
As far as wind, it got pretty breezy and it shifted from 3 o'clock and mild/moderate in the morning to 9-o’clock and 10mph+ in the afternoon. It gusted and calmed often enough that the wind calls I was giving my brother were no good by the time he took the shot (he took a long time, like over a minute, to break his shots after I told him I was ready to spot).
In short, the LRSU Intro to Long Range Shooting course was excellent and I learned a lot–so much that I couldn’t write it all down, though I tried. I’m VERY GLAD I decided to rent a proper long-range rifle setup rather than try to make things work with the SCAR-17 and a DMR-type optic. I would have just been frustrated and wasted a lot of ammo at the 1000-yard line.
I can’t wait to go back and take another class from LRSU!
Author: Jeff Davis
*Made in the U.S.A. from U.S. and Global Parts.